Old photos
Bring old family photos back to life
Fix the fading, scratches and creases, add colour to black-and-white prints, and watch a grandparent smile again in a 5-second clip. All from a phone photo of the print, in a couple of minutes. It makes a Christmas gift nobody else will think of.
Your first two videos are free. Keep your originals; we only work on the copy you upload.
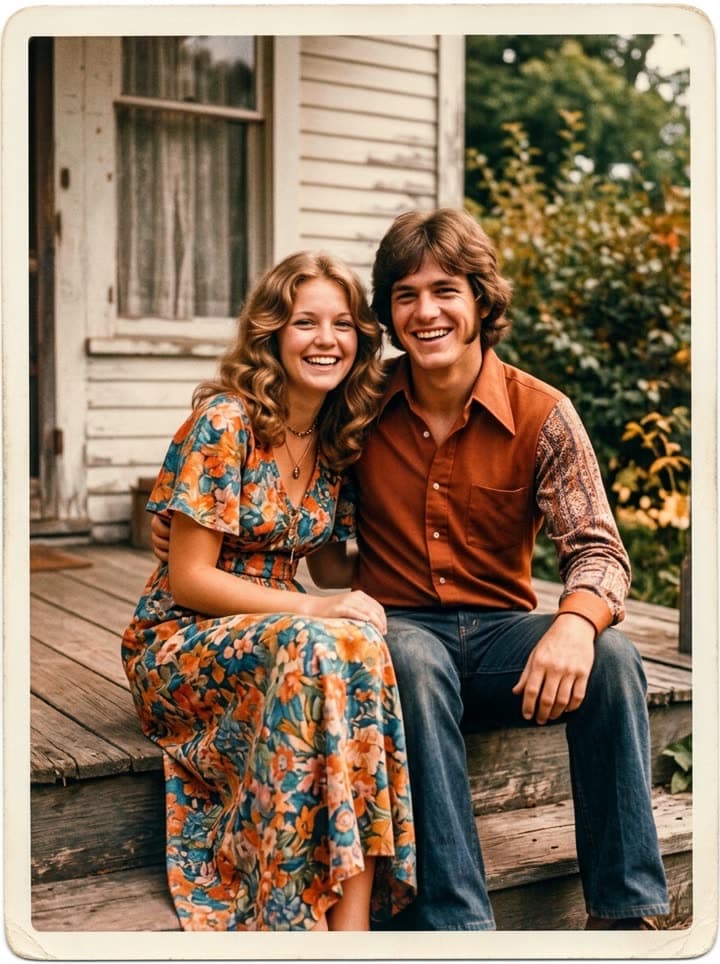
Before and after
The photo as it came out of the album, restored, and brought to life.
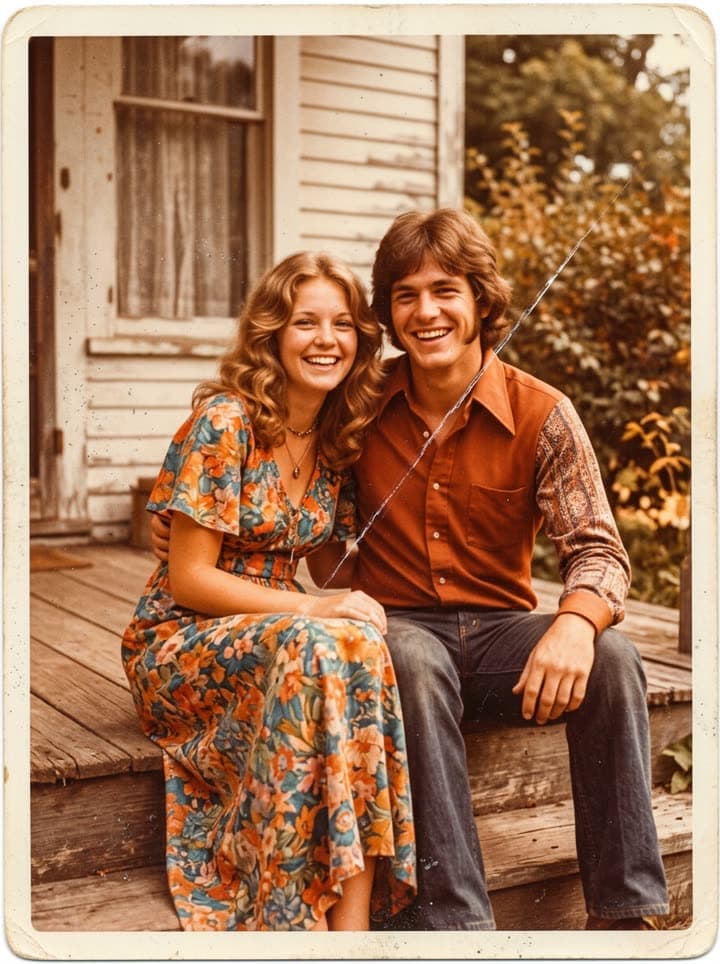
Before Restored Moving A faded 1970s couple portrait
Fading, creases and a colour cast fixed, then the two of them smile and lean in.
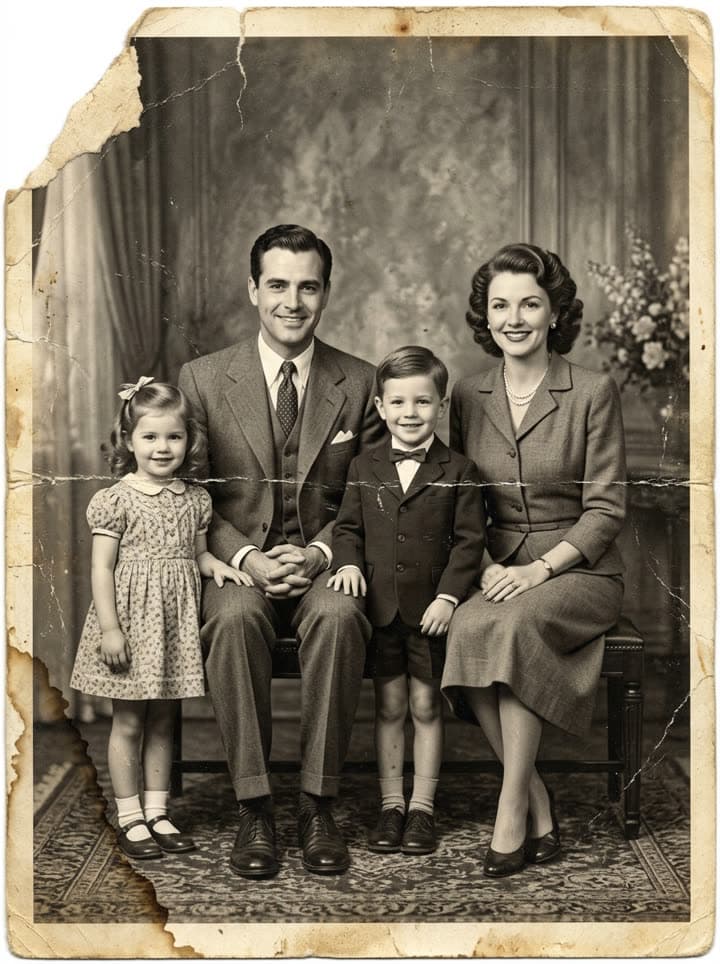
Before 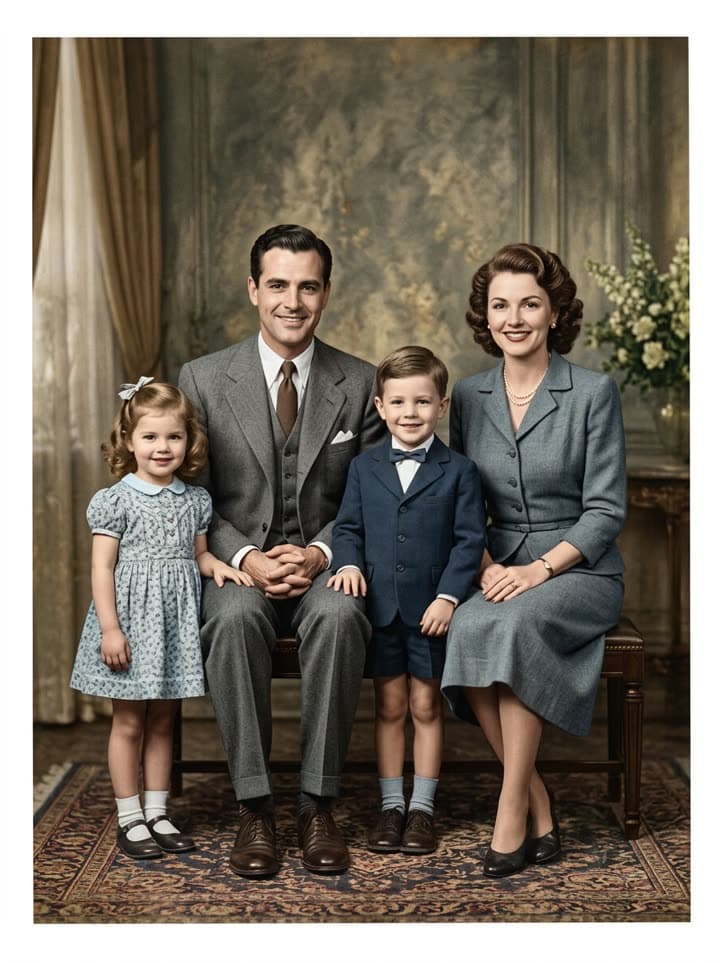
Restored Moving A scratched 1950s family portrait
Scratches removed and colour added to a black-and-white print, then brought to life.
Three tools, one photo
Use one, or all three in order: restore, add colour, then bring it to life.
Restore
Fixes fading, yellowing, scratches, creases and small tears, and keeps every face as it was.
Restore a photoColorize
Adds natural colour to black-and-white and sepia prints. Tell it a detail you remember, like a pale blue dress.
Colorize a photoBring to life
Turns the restored photo into a gentle 5-second clip: a blink, a smile, a turn of the head.
Bring a photo to life
How families use it
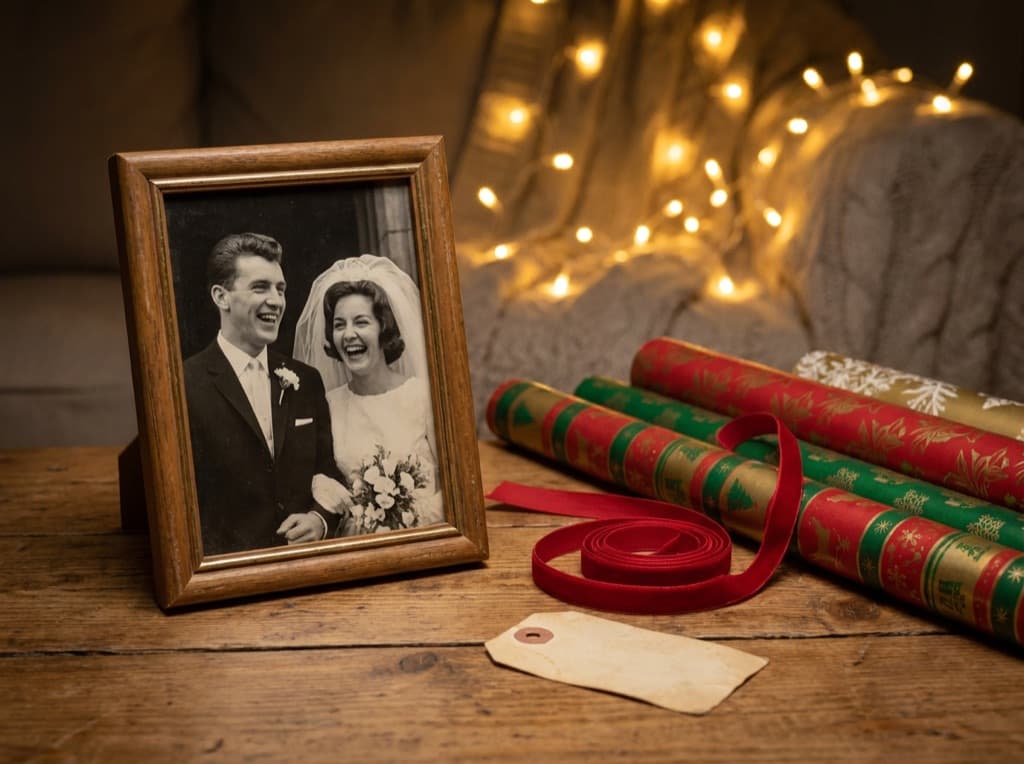
A gift to print or frame
Restore the wedding photo or the oldest portrait in the family, print it for a frame, and send the moving version on Christmas morning. Older relatives often keep prints, not phone videos, so give both.
Photo gift ideas for grandparents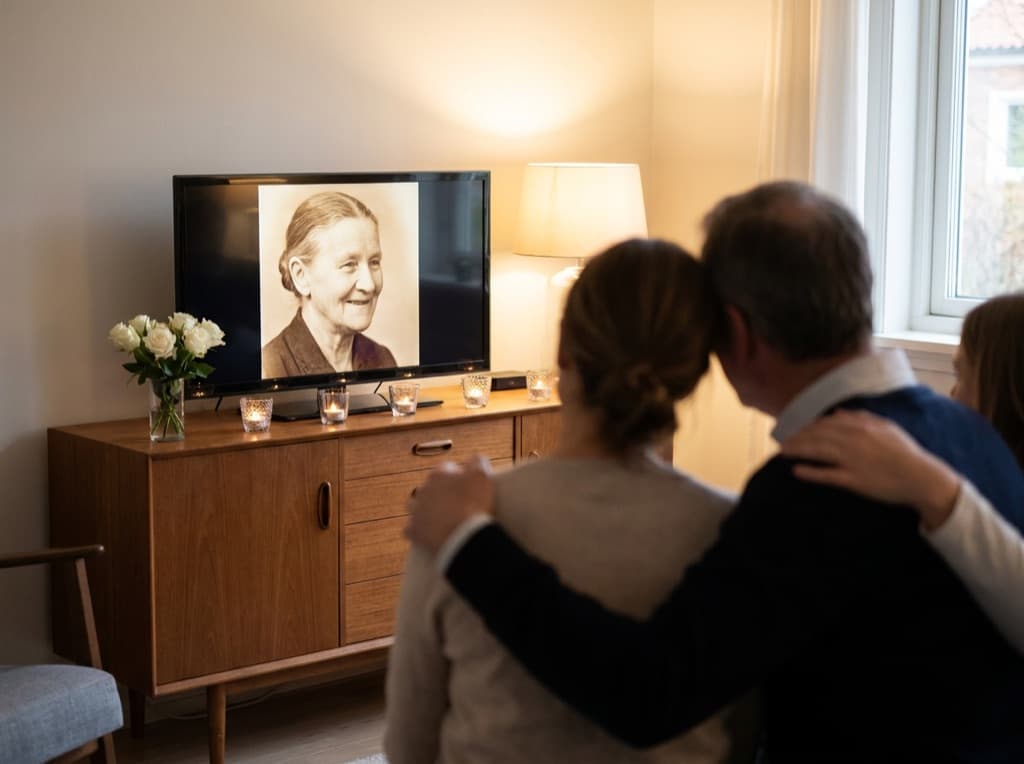
A memorial slideshow
For a funeral, an anniversary of a loss or a memorial page, restore the photos first, bring one or two to life, and keep the motion gentle. Ask close family before you share it.
How to make a memorial slideshow
The family group chat
Post one restored photo a day through December with the year and a line of who's in it. Relatives reply with the stories, and someone always finds more photos in a drawer.
Animating photos of loved ones
For the best result
- Photograph the print flat in daylight with the phone held straight above it, or scan it at 600 dpi. Glare and angles are the most common reason a result looks soft.
- Restore the whole photo before you crop it. The tool reads the clothes, the room and the light around a face, not just the face.
- Do one photo at a time and compare the result with the original before you share it.
- Where a face is badly damaged or missing, any tool has to guess. Keep those for a professional restorer, and keep every original.
More on getting a clean copy: how to scan old photos.
Questions families ask
How long does it take?
About a minute for a restored photo and about another minute for the moving clip. You can do a whole album in an evening.
Will it change their faces?
Restoring keeps faces as they were and fixes the damage around them. If a face is badly damaged, the result can look smoother than the original, so compare the two before you share it.
Can it fix a torn or folded photo?
Fold lines, creases and small tears, yes. Large missing pieces, especially across a face, need a person to rebuild them.
Can I print the restored photo?
Yes. It works well for frames and cards up to about postcard size; for a large print, scan the original at 600 dpi or higher first.
Do I need a scanner?
No. A phone photo of the print, taken flat in daylight without glare, works well. A scanner helps with very small or very faded prints.
Is it a subscription?
No. Old photos are priced per photo and paid once, and nothing renews. A new account's first two videos are free.
Start with one photo
The one on the fridge, or the oldest one in the album. Our step-by-step restore guide walks through it.
Priced per photo, paid once, no subscription. See pricing