How to scan old photos at home with a phone or scanner, before you restore them
By Daniel Hughes, Safety, rights and family memories · Updated · 4 min read
the short version
To scan old photos at home, use a flatbed scanner at 600 dpi for prints, or photograph each one flat in soft daylight with your phone held straight above it, no flash and no glare. Clean the glass and the prints gently, keep the white borders, name files with names and years, and back everything up in two places before restoring anything.
AI Photo Restyle
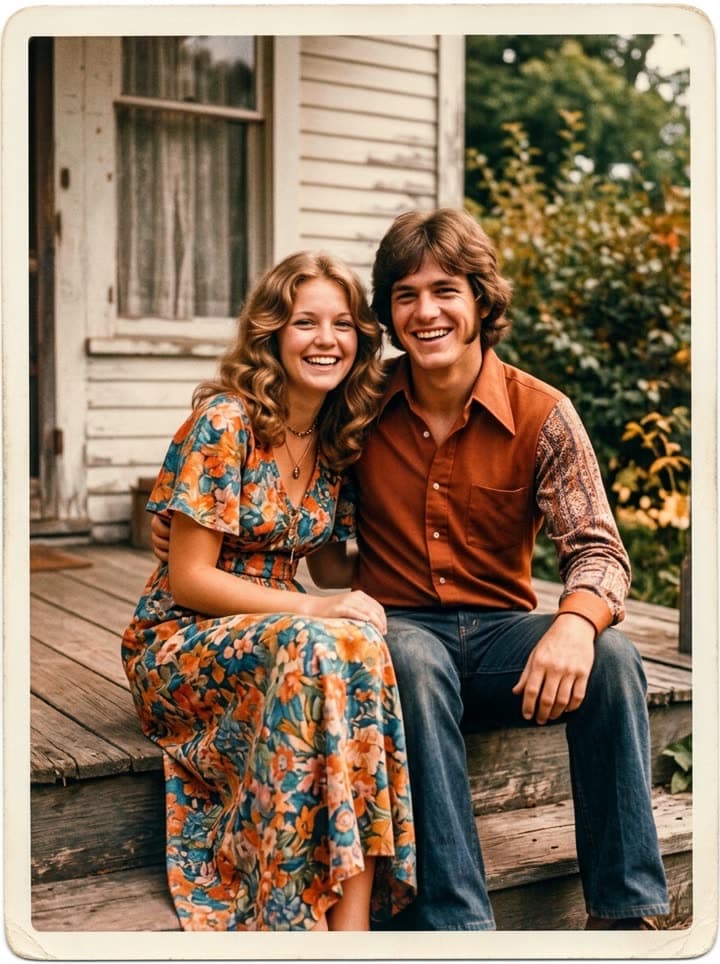 Restore an old photo
1 Pick a look · optional
Failed renders refund credits
Why scanning comes first
Every restoration, colorization or moving portrait starts from the scan, and no AI can add detail the scan didn't capture. A careful scan also protects the family: prints get lost, damaged by water or split between relatives, and a good digital copy means nobody has to choose who keeps the only picture of great-grandma.
You don't need special equipment. A basic flatbed scanner or a recent phone, a clean table and a window give results that restore beautifully.
Scanning with a flatbed scanner
- Resolution: 600 dpi for normal prints, 1200 dpi for small wallet photos and contact prints.
- Color mode: color, even for black-and-white prints; it captures the tone of the paper and gives restoration more to work with.
- Format: JPG at the highest quality, or TIFF if you have the space for an archive.
- Turn off the scanner's own dust removal and auto-enhance; it often smears detail.
- Clean the glass with a microfiber cloth before every session.
- Scan several prints at once if your software splits them, leaving a finger's width between them.
Try this look on your own photo.
Make it with my photoScanning with your phone
Step 1
Find soft, even light
A bright room near a window, out of direct sun. Turn off overhead lights that cause reflections.
Step 2
Lay the print flat
On a dark, matte surface. Curled prints can be held flat at the edges with a sheet of glass from a frame, angled to avoid glare.
Step 3
Hold the phone straight above
Parallel to the photo so it isn't skewed. Use the 1× lens, not ultra-wide, and tap to focus.
Step 4
No flash
Flash creates a bright spot that no restoration can recover.
Step 5
Crop and straighten
Use the phone's editor, keeping the white border; you can trim it later.
Albums, frames and fragile prints
Old “magnetic” albums with sticky pages damage photos over time, but forcing prints off can tear them. If a photo won't lift easily, slide dental floss gently behind it, or scan it in place through the plastic with the phone at a slight angle to avoid reflections. Take photos out of frames to scan; the glass adds glare and the backing hides writing.
Slides and negatives need a little more care. A flatbed with a film holder, or a phone held over a lightbox or a bright white screen, both work; scan negatives in color and invert them afterwards. Slides and negatives often hold far more detail than the prints made from them, so they are worth the extra effort.
Scan the backs too. Names, dates and notes in a grandparent's handwriting are often as precious as the picture, and they tell you who you're looking at.
Naming, sorting and backing up
- Name files by year, place and people: 1962-wedding-rosa-and-luis.jpg is findable in thirty years; IMG_4821.jpg isn't.
- Sort into folders by decade or by branch of the family.
- Keep the untouched scans in an “originals” folder and restorations in another.
- Back up in two places, such as a cloud drive and an external drive.
- Share the folder with relatives so the archive isn't in one person's hands.
Then: restore, colorize, bring to life
With good scans, the rest is quick. Restore old photos removes scratches, creases and fading in about a minute per photo; colorize old photos adds natural color to black and white; and bring old photos to life turns a restored portrait into a gentle moving clip. New accounts get 140 free credits with no card.
Our step-by-step restoration guide explains how to check that faces stay true, and the photo gift for grandparents guide has ideas for what to do with the results.
Questions people ask
What dpi is best for scanning old family photos?
600 dpi for normal prints and 1200 dpi for small wallet-size photos.
Can I scan old photos with my phone?
Yes. Lay the print flat in soft daylight, hold the phone straight above it, use no flash and crop afterwards.
How do I avoid glare on glossy photos?
Use indirect light, turn off overhead lamps and tilt the light source, not the phone. Scanning apps that combine several shots also help.
Should I scan black-and-white photos in color?
Yes. Color mode captures the paper's tone and gives restoration and colorizing more information.
How do I get photos out of sticky albums?
Gently, with dental floss slid behind the print. If it resists, scan it in place rather than risk tearing it.
What should I do after scanning?
Back up the originals in two places, then restore, colorize or animate copies.
Effects from this guide
 Old photo restorationRestore old family photos with AI: remove scratches, creases, stains and fading, repair torn corners and add natural color, while every face stays exactly as it was.
 Colorize black-and-white photosColorize black-and-white and sepia photos with AI: realistic skin tones, period-true clothes and rooms, and the faces of the people you love left exactly as they were.
- Bring old photos to lifeAnimate an old family photo: the people in it blink, breathe and smile again in a gentle 5-second clip. For memorial slideshows, anniversaries and family memories.
Keep reading
 How to restore old photos with AI: bring back the faces in the family album5 min read
- A photo gift for grandparents: their old photos, restored and brought to life4 min read
 How to colorize black-and-white photos with AI so they look real4 min read
- How much does photo restoration cost? A retoucher, an app or AI, compared4 min read
- An anniversary video from old photos: their wedding day, restored and moving again4 min read
Ready to make yours?
Add one photo and get the look from this guide.