Make it move
How to make a photo move: 4 ways, ranked
By the Dromana team · Updated · 4 min read
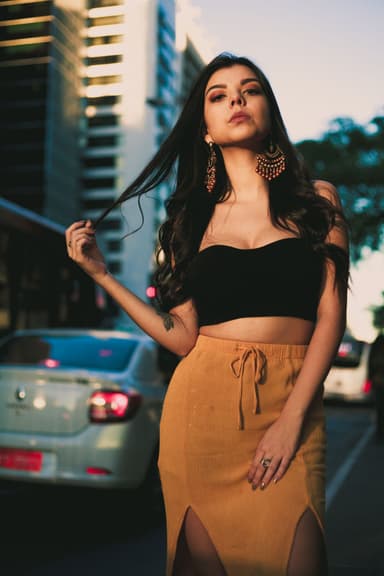
Main character
Made with Dromana. Tap to start from this look.
The short version
There are four main ways to make a photo move: Live Photos, 3D parallax apps, hand-masked cinemagraphs and AI image-to-video. Parallax fakes depth, cinemagraphs loop one small area, and AI video adds real motion to the whole scene from a single still, which makes it the fastest route to a clip you can actually post.
Why moving photos hit different
A still photo asks people to stop. A photo that moves gives them a reason to. On TikTok, Reels and Shorts the first second decides whether someone keeps watching, and a face that blinks, smiles or turns toward the camera does a lot more work than a static selfie with a trending sound slapped on top.
The good news: you don't need to film anything new. Your camera roll is already full of shots that could move. The question is which method fits the photo and how much time you want to spend.
Way 1: Live Photos and motion photos
If you shot the picture on an iPhone with Live Photos turned on, or on an Android phone with motion photos, you already have about three seconds of movement saved around the moment you tapped the shutter. Open the photo, switch the effect to Loop or Bounce, and export it as a video.
- Best for: photos you took recently on your own phone with the feature on.
- Downside: it only works if the motion was captured in the first place, and you get whatever happened in those few seconds, including shaky hands.
- Time: under a minute.
Try it on your own photo. Browse free, sign in when you generate.
Make your photo moveWay 2: 3D parallax apps
Parallax apps cut your subject away from the background and slide the two layers at different speeds, so the camera seems to push in or drift sideways. It is the classic Ken Burns effect with extra depth.
- Best for: travel shots and wide landscapes where a slow push-in feels cinematic.
- Downside: nothing inside the photo actually moves. Hair, water and faces stay frozen, and edges around the subject can smear.
- Time: a few minutes.
Way 3: Cinemagraphs
A cinemagraph keeps most of the frame perfectly still while one area loops, like steam rising from a coffee or a single strand of hair in the wind. Traditionally you shoot a short video on a tripod, then paint a mask over the part that should move.
- Best for: moody, satisfying loops for brands, portfolios and wallpapers.
- Downside: you need video footage, a steady camera and patience with masking. You can't make a true cinemagraph from a single still.
- Time: 20 minutes to a few hours.
Way 4: AI image-to-video
AI image-to-video looks at what is in your photo and generates motion that fits it. People breathe, blink and shift their weight, fabric sways, clouds drift and water rolls in. You start from one still and get a short clip back, with no footage, tripod or masking.
With Dromana you make a photo move in three taps: upload the photo, pick a look, press Generate. Clips are 5 seconds, silent and usually ready in a minute or two, so you can add your own sound when you post.
- Best for: selfies, portraits, fit pics, old favourites and landscapes you want to actually come alive.
- Downside: results depend on photo quality, and very busy scenes can move in unexpected ways.
- Time: a couple of minutes.
Which method should you pick?
If the photo was taken with Live Photos on, try that first because it is free and instant. If you want a slow, dreamy camera move over a landscape, a parallax app is enough. If you are making a polished loop for a brand and can shoot video, a cinemagraph is worth the effort.
For everything else, especially people, AI video is the one that gives you real movement from a single picture. It is also the only option that works on screenshots, scanned prints and photos someone sent you.
How to animate a photo with AI, step by step
Step 1
Pick a sharp photo
Choose a clear, well-lit shot where the face or main subject isn't cropped at the edges. Our checklist of photos that animate best goes deeper.
Step 2
Open AI Video
Go to AI Video and upload a JPG, PNG or WebP up to 8 MB.
Step 3
Choose a look or write the motion
Tap a ready-made look, or describe the movement in a few words, like "slow smile, looks at camera". Need ideas? Borrow from our image-to-video prompts.
Step 4
Generate, then post
Sign in when you press Generate. Download the MP4 and add a sound, a caption and your hook in your usual editor.
FAQ
Can I make a photo move for free?
Yes. Live Photos and motion photos are free on your phone, and Dromana gives you 5 free credits every day you sign in, which covers one 5-second AI video.
What's the difference between a cinemagraph and an AI video?
A cinemagraph loops one masked area of real video footage while everything else stays still. An AI video generates natural motion across the whole scene from a single photo, with no footage needed.
Does it work with old or scanned photos?
Yes, as long as faces are reasonably clear. Scan or photograph the print in soft, even light first. Our guide to [bringing old photos to life](/guides/animate-old-photos) has the full process.
How long can the clip be?
Dromana clips are 5 seconds, which is the sweet spot for hooks, transitions and loops on short-video apps.
Will the person still look like themselves?
Good AI looks are built to keep faces, clothes and backgrounds recognizable. A sharp, front-facing photo gives the most faithful result.
Effects from this guide
 Make a photo moveUpload one photo and get a 5-second AI video: a smile, a turn, wind in the trees, waves on the shore. Make portraits and landscapes move, free to try.
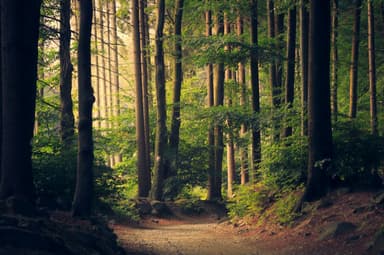
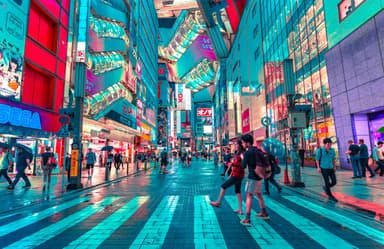
 Animate landscape photosBring a landscape photo to life: drifting clouds, rolling waves, wind in the trees and city lights that flicker on. One photo in, a 5-second video out.
Keep reading
Your camera roll, but make it move
Pick a look, drop a photo, get a clip or a restyle. Sign in only when you press Generate.
Make your photo move